Hello to all my blogging friends, I hope this post finds you all well and happy!
Here is the second card I made with the cute little Witches Boot.
I worked all day on this darn card! First, I wanted to somehow make a witch wearing these cute boots??? The problem I discovered was there is only one stamp of the boot and it is a left foot???? So, my challenge was to make a left foot??? I got out my velum and my over head projector sheets to see if those sheets would work?? Nope, I just couldn't get the colors to match up just right and or not smear!
I remembered when I was a kid I learned how to make duplicates of things that I wanted a left and right side of. So, I tried the technique with this boot and it worked. YIPPEE!! I'll share this technique with you.
First, I got a scrap piece of white cs and folded it over enough that a copy of the boot would fit on either side of the fold and not overlap! That is important not to make your fold too small. Then, I inked up the boot stamp really well and stamped it on the right side of my folded piece of cs. Quickly, I folded over the left side onto the inked boot side and rubbed vigorously, but, not so hard that the ink would smear. It worked perfectly! I got a very light image just enough that I could copy over the image with the thin end of a black marker.
Now that I had a somewhat of a perfect pair of boots. I started to color them in. I chose to do the circles with color first using the lightest color which was yellow, then orange, then green and finally purple. I had somewhat of an advantage coloring in the circles first then fill in the black last. In that, if I made a mistake I could color over the mistake with the black marker. The boots are not perfect but they work for me.
I made her stockings out of another scrap piece of white cs and a red and black marker. I ran the red marker over an area making several stripes. As I went along I left a little white in between the red stripes. Then, I went back over the red stripes and outlined them with the black marker. I felt it made the red stripes pop a bit more! Once her stockings were colored I cut her out some legs thin on the bottom thicker towards the top, just like real legs.
I cut her skirt out free hand and added a little purple belt with a black buckle. Then I and added a large Rhinestone for some Bling. You know even a Witch likes to have a bit of Bling in her outfit!
I off set her left boot to make it look like she was impatiently waiting for Halloween to arrive. I can just see her tapping her foot, crossing her arms and rollong her eyes with her sassy attitude! Is it time to fly yet!!!
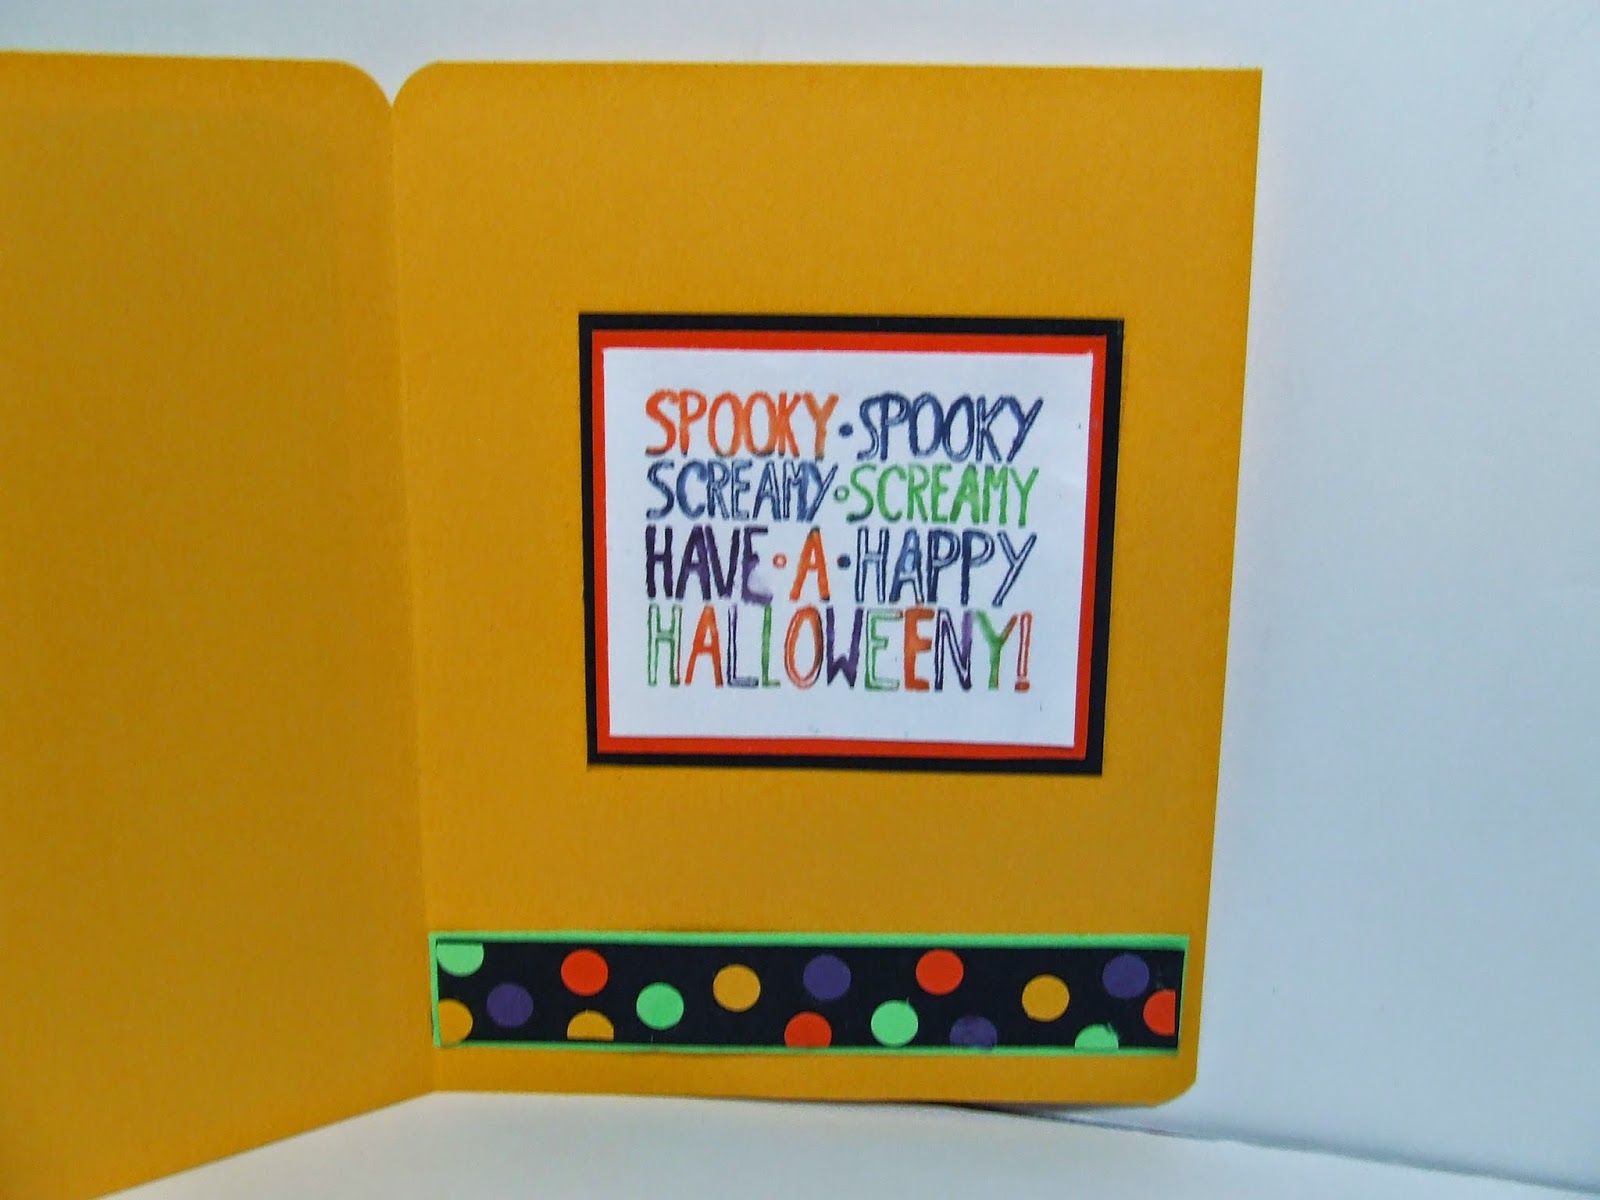
Here is a look at the inside.
Hope you like this card and find some time to create something fun from it!
Chat soon,
Patrice